If you purchase a modern Windows 11 PC and really care about your game performance, you may notice the Virtual Based Security (VBS) feature in Windows 11 preventing you from reaching top performance with your hardware. While this is a very important security feature of Windows that isolates critical components from others to prevent your machine from being compromised, if you device is dedicated to gaming and you want to squeeze every little bit of performance out of your hardware, it may be worth checking into if VBS is enabled on your hardware and testing performance with it disabled.
Just to be clear, I would never advocate disabling Virtual Based Security (VBS) on your daily driver hardware. It is simply too valuable to disable as it helps maintain the integrity of your device and protects the operating system from attacks. It's simply not worth a 5% performance increase if you put the sensitive data on your PC at risk. But again, if your gaming PC is just for gaming, it may be worth a shot experimenting with the VBS memory protection features.
First, let's check to see if virtual based security is actually enabled on your device. As I mentioned earlier, generally this feature is only enabled on new hardware or if you previously enabled it on Windows 11 or Windows 10. Microsoft does not seem to currently enable this on every Windows 11 install. To see if it is enabled on your PC, click on the start button, type in System Information and hit Enter. When System Information loads, scroll down on the default System Summary page to see if Virtualization-based security is set to Enabled.
If it is set to Not enabled, then you already have top performance. You may want to experiment with actually turning it on to better protect your PC. But either way, you can toggle the capability within the Windows Security app. To get there follow these steps:
Click on the Start Button and type in Windows Security and hit Enter. Then scroll down to the Devices section of Windows Security app (laptop icon).
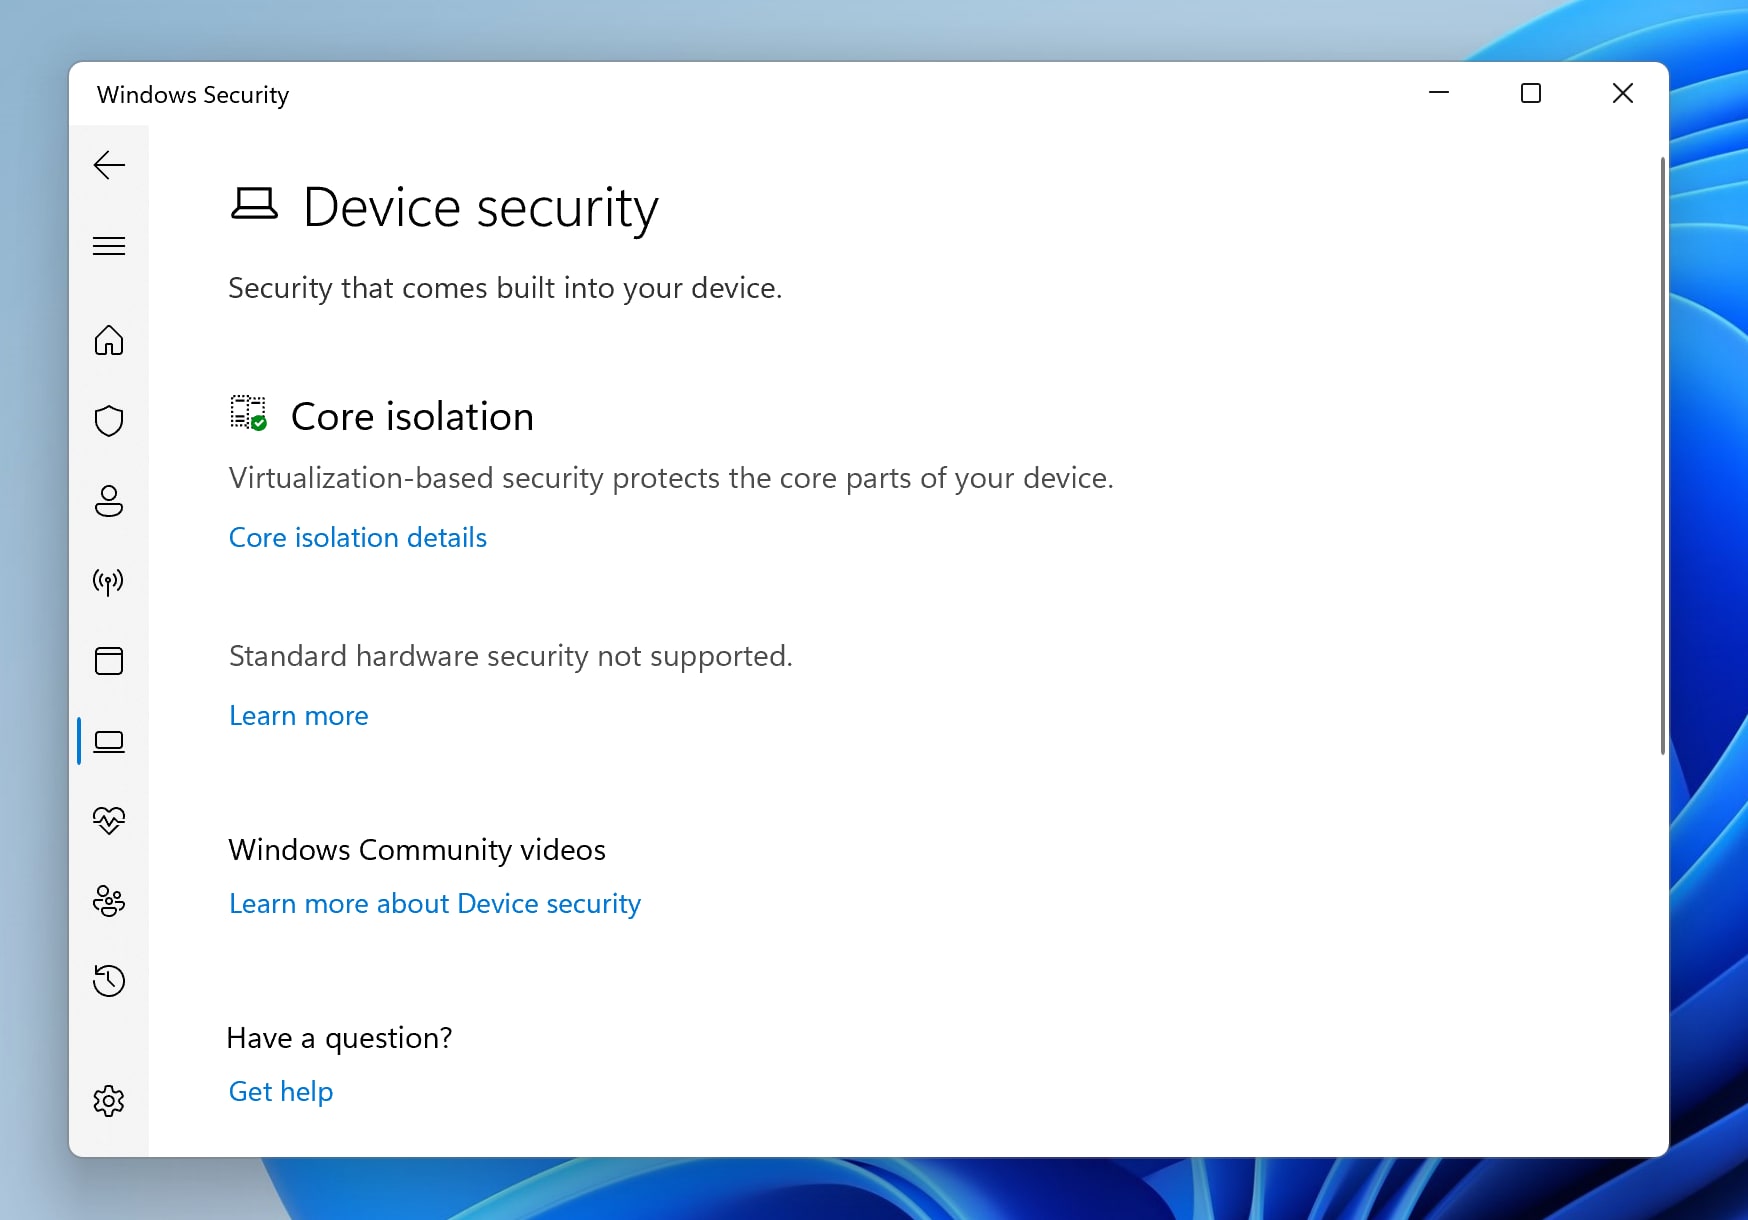
Next, click on the Core isolation details link to view the Memory Integrity feature settings.
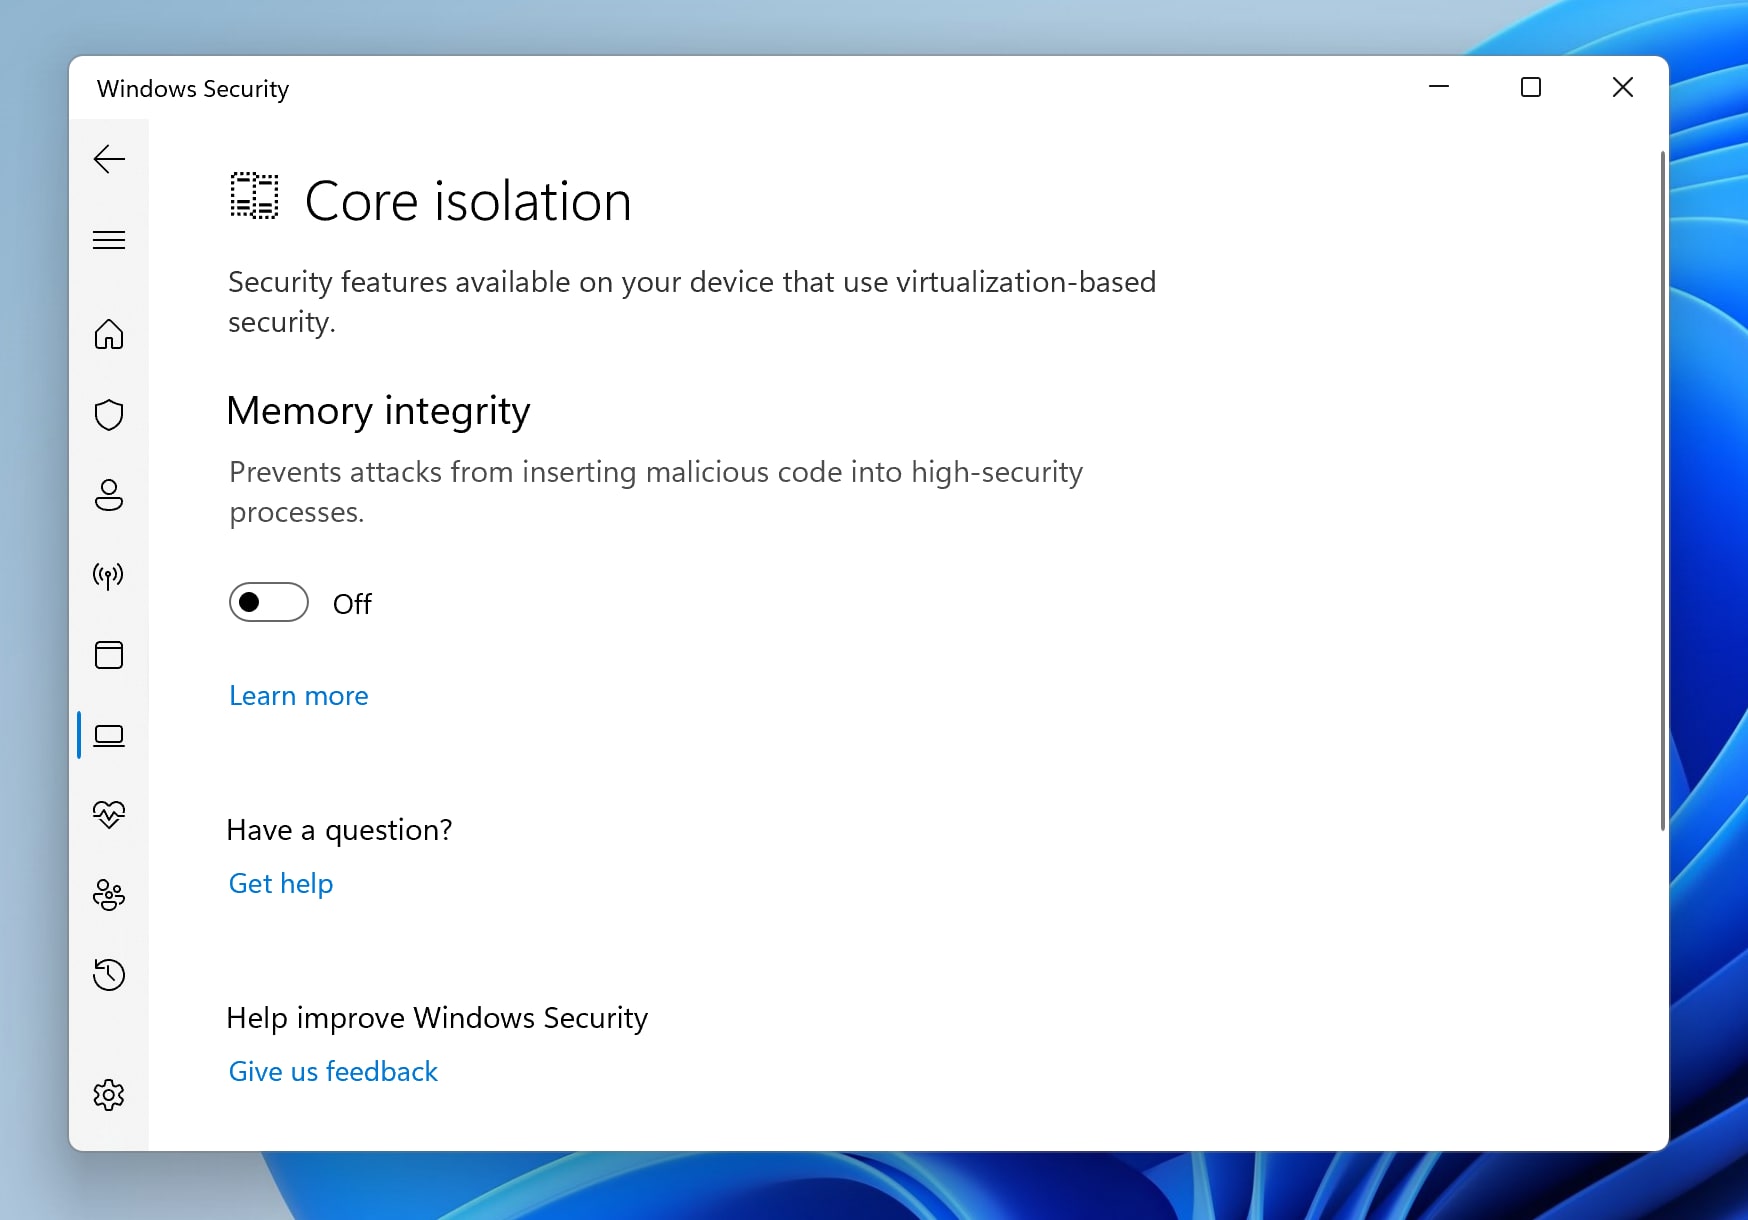
Finally, toggle Memory integrity on/off to experiment. Any changes to this setting will require a reboot.