![]() Windows 7 Media Center does not include native theme support but that has not stopped a determined group of users armed with resource hackers and custom tools to make customizing Windows Media Center easy.
Windows 7 Media Center does not include native theme support but that has not stopped a determined group of users armed with resource hackers and custom tools to make customizing Windows Media Center easy.
To get started I’m going to show you how to use a free utility called Media Center Studio to create and install your own theme. The Media Center Studio will allow you to customize all of the colors, fonts and images used in Windows Media Center.
First, download and install Media Center Studio.
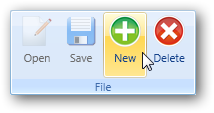
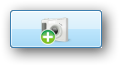
After the software is installed and running click the green New button on the ribbon.
Now you will see all of the items that can be customized. It is best to set the name and author sections first.

Navigate through the sections on the left to customize each component. Most users like to change the background image so I’m going to cover that first. Navigate through Images, Common and Backgrounds. There are two items under Backgrounds that you will need to replace to change the Windows Media Center background.
- COMMON.ANIMATED.BACKGROUND.PNG
- COMMON.BACKGROUND.PNG
Select COMMON.ANIMATED.BACKGROUND.PNG and click Browse.

Browse and select the new background file and then click the Open button. You may need to change the file type drop down box to JPG if your replacement picture is not a PNG file.
You should now see your new image shown. Now select the next item, COMMON.BACKGROUND.PNG, and repeat as you did for the last item.
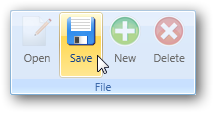
After both items are replaced with your new image you are ready to finalize your theme. First, save your progress by clicking Save.
Navigate back to the Biography section list on the top of the navigation list. One of the last steps is to create a thumbnail shot for your new theme.
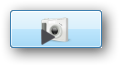
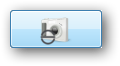
On the Biography screen click the play camera button.
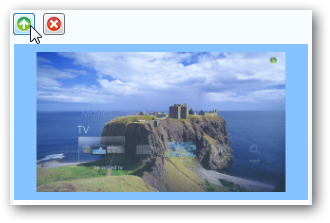
Windows Media Center will load with all your settings loaded. While Media Center is still running, switch back to Media Center Studio and click the new picture camera button.
Click the stop camera button and the preview image will be saved and Media Center closed.
Now that the picture was saved, while selected, click the up arrow to set the preview picture as the default thumbnail for your theme.
Then hit the Save button once more and your theme is completed.
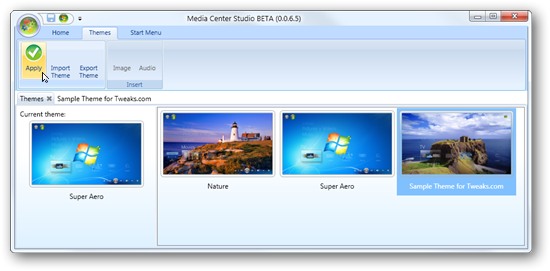
To apply switch over to both Themes tabs and select your theme and hit Apply.