Did you know there is a comprehensive screenshot and recording capability built right into modern versions of macOS? That's right, say goodbye to third-party utilities, macOS has you covered. Activated using special keyboard shortcuts (or via terminal), more than a dozen options are available to help you take every type of screenshot you will ever need along with customizations to include a timer delay, the mouse cursor, or window shadows.
Using the Screenshot App built into macOS
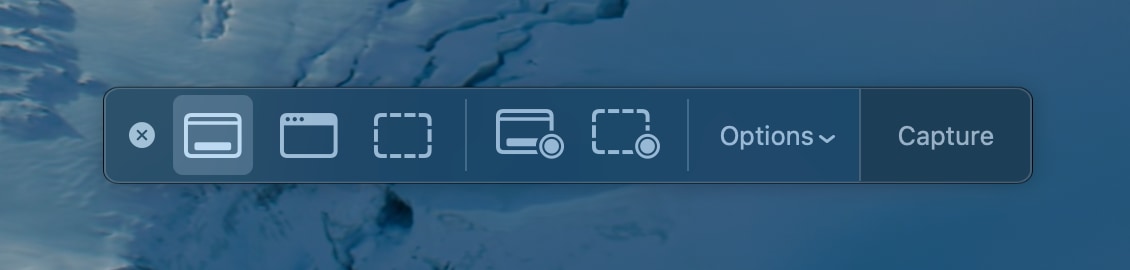
If you prefer user interfaces, the Screenshot app is for you as it provides the ability to take a screenshot of the entire screen, just an app window, or a region of the screen. In addition, it provides the ability to record a video of the entire screen or just a region as well. The best way to launch the Screenshot app is with the keyboard shortcut:
Command ⌘ + Shift + 5
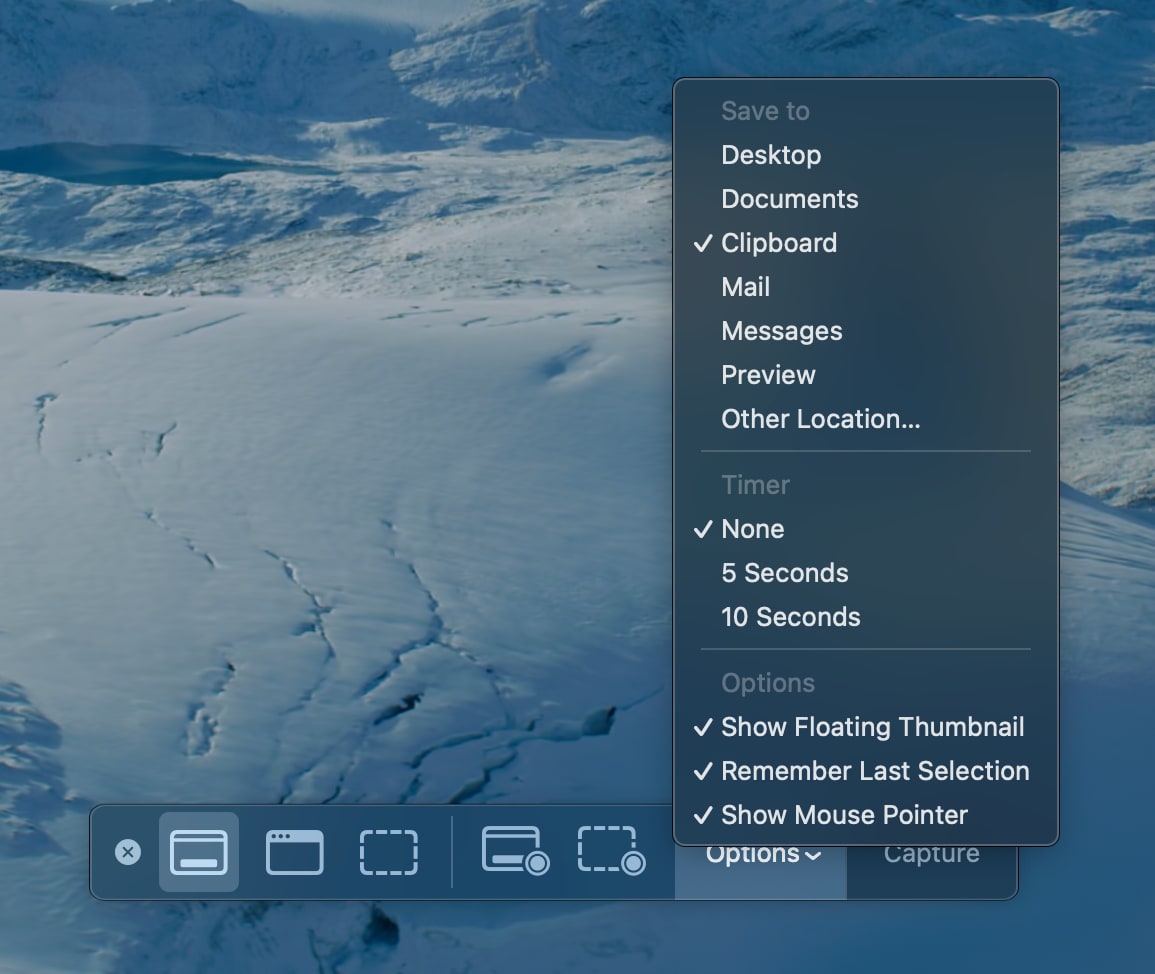
Under Options, you can customize where the screen is saved (I prefer the Clipboard option so I can easily paste the picture into any app), configure a delay timer, and show or hide the mouse pointer in your screenshots or recordings.
When ready, just select the full screen, window, or region option and then click on the screen to take the picture.
Tip: When using the window screenshot option, before you click on the window to take the picture, hold down the Option ⌥ key as you click to take a screenshot without the window shadow. I use this a lot when taking screenshots for my articles as I don't want the massive drop shadow that Apple automatically adds to the window screenshot feature.
Option ⌥ + Click
Bonus Tip: Want to add the Screenshot App to your Dock for Easy Mouse Access?
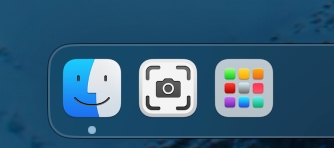
Open up Terminal and run the following:
defaults write com.apple.dock persistent-apps -array-add '<dict><key>tile-data</key><dict><key>file-data</key><dict><key>_CFURLString</key><string>/System/Applications/Utilities/Screenshot.app</string><key>_CFURLStringType</key><integer>0</integer></dict></dict></dict>' && killall Dock
Advanced Screenshot Keyboard Shortcuts
If you would prefer to avoid the full screenshot app, some slick keyboard shortcuts will allow you to skip a step and go right to capturing the screenshot.
Capture a Region of the Screen using the Mouse Cursor
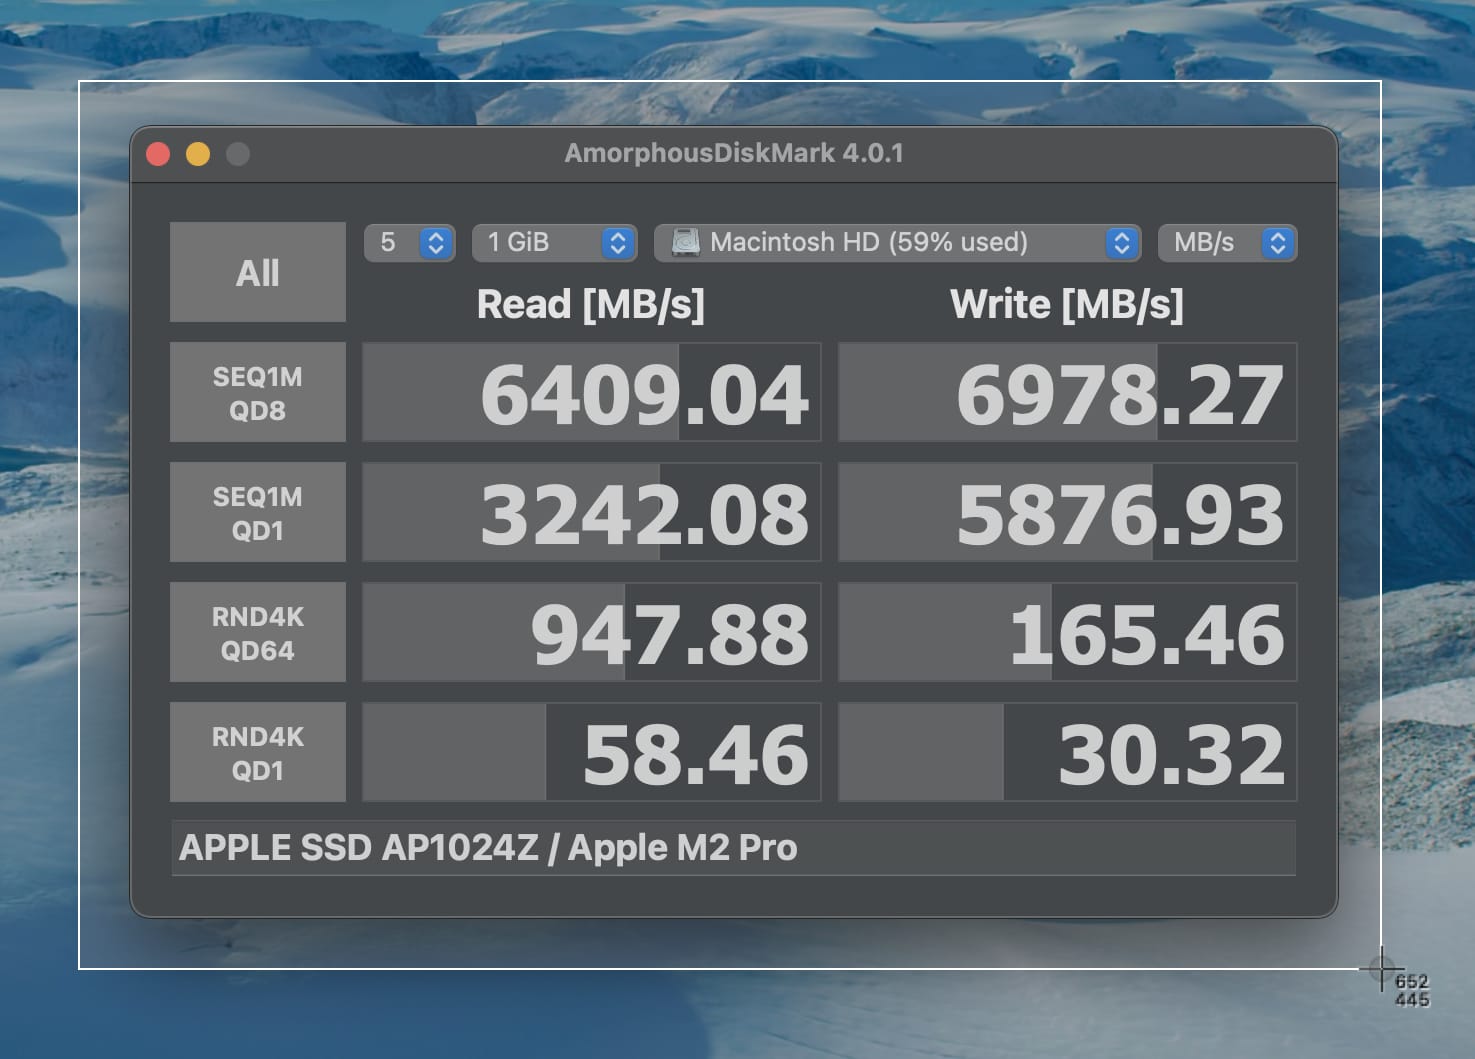
- Capture a region of the screen using the mouse and save it to your Desktop:
Command ⌘ + Shift + 4 - Capture a region of the screen using the mouse to your clipboard for pasting into any app:
Command ⌘ + Control ^ + Shift + 4
Then just drag a box around what you want to capture and release the mouse button to complete.
Capture only a Specific Application Window
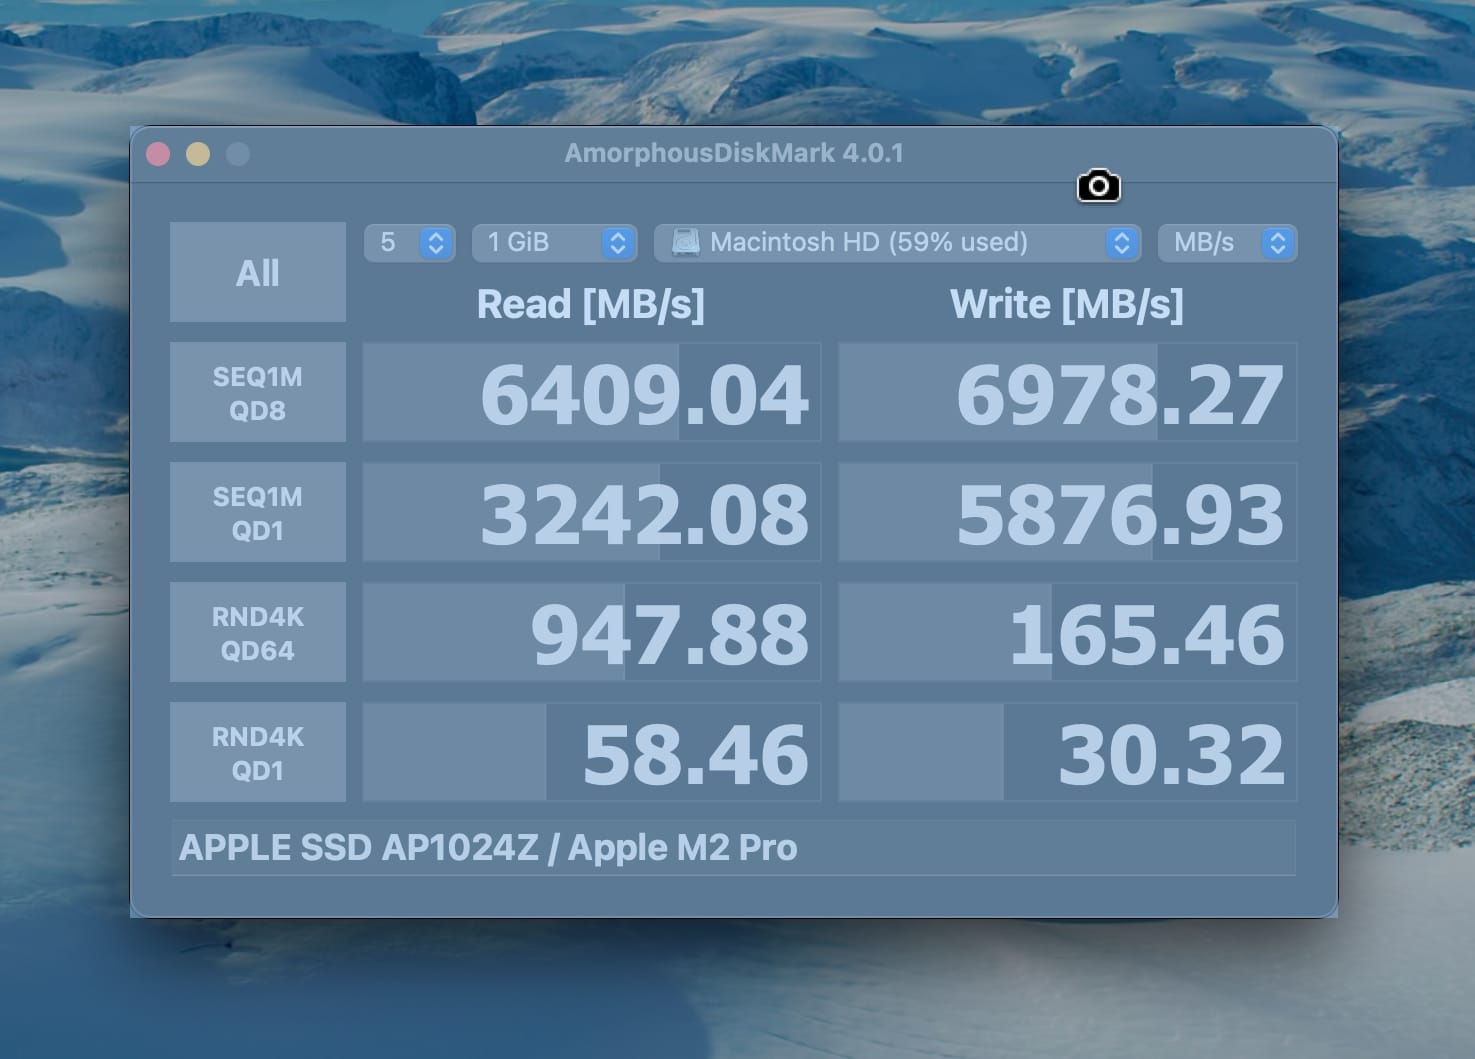
- Capture a specific app window and save it to your Desktop:
Then, click on the window you want to capture with the shadow.Command ⌘ + Shift + 4 + Space bar
Alternatively, hold down the Option key while clicking on the app window to capture without the shadow.ClickOption ⌥ + Click - Capture a specific app window to your clipboard for pasting into any app:
Then, click on the window you want to capture with the shadow.Command ⌘ + Control ^ + Shift + 4 + Space bar
Alternatively, hold down the Option key while clicking on the app window to capture without the shadow.ClickOption ⌥ + Click
Capture the full screen of the Primary Display
Unfortunately, this only works for the primary display (the display the logon screen is displayed on).
- Capture the full screen of the active monitor and save it to your Desktop:
Command ⌘ + Shift + 3 - Capture the full screen of the active monitor to your clipboard for pasting into any app:
Command ⌘ + Control ^ + Shift + 3
Take Screenshots from Terminal
Another great way to take screenshots, and also something that was helpful to me while writing this article (as how do you take screenshots of the screenshot app? This is how!), is using the screencapture app at a Terminal prompt.
Want to take a screenshot of the primary monitor on a 10-second delay and capture the cursor?
stevesinchak@tweaks Desktop % screencapture -C -T10 screenshot.jpg
That are dozens of command line parameters that allow you to customize every aspect of the screenshot or screen recording. See the full reference below:
usage: screencapture [-icMPmwsWxSCUtoa] [files]
  -c         force screen capture to go to the clipboard
  -b         capture Touch Bar - non-interactive modes only
  -C         capture the cursor as well as the screen. only in non-interactive modes
  -d         display errors to the user graphically
  -i         capture screen interactively, by selection or window
               control key - causes screenshot to go to clipboard
               space key   - toggle between mouse selection and
                             window selection modes
               escape key  - cancels interactive screenshot
  -m         only capture the main monitor, undefined if -i is set
  -D<display> screen capture or record from the display specified. -D 1 is main display, -D 2 secondary, etc.
  -o         in window capture mode, do not capture the shadow of the window
  -p         screen capture will use the default settings for capture. The files argument will be ignored
  -M         screen capture output will go to a new Mail message
  -P         screen capture output will open in Preview or QuickTime Player if video
  -I         screen capture output will open in Messages
  -B<bundleid> screen capture output will open in app with bundleid
  -s         only allow mouse selection mode
  -S         in window capture mode, capture the screen not the window
  -J<style>  sets the starting of interfactive capture
               selection       - captures screen in selection mode
               window          - captures screen in window mode
               video           - records screen in selection mode
  -t<format> image format to create, default is png (other options include pdf, jpg, tiff and other formats)
  -T<seconds> take the picture after a delay of <seconds>, default is 5
  -w         only allow window selection mode
  -W         start interaction in window selection mode
  -x         do not play sounds
  -a         do not include windows attached to selected windows
  -r         do not add dpi meta data to image
  -l<windowid> capture this windowsid
  -R<x,y,w,h> capture screen rect
  -v        capture video recording of the screen
  -V<seconds> limits video capture to specified seconds
  -g        captures audio during a video recording using default input.
  -G<id>    captures audio during a video recording using audio id specified.
  -k        show clicks in video recording mode
  -U        Show interactive toolbar in interactive mode
  -u        present UI after screencapture is complete. files passed to command line will be ignored
  files   where to save the screen capture, 1 file per screen
Disable Shadows for all App Window Screenshots
Just run the following at Terminal:
defaults write com.apple.screencapture disable-shadow -bool true && killall SystemUIServer
Run the following to re-enable shadows:
defaults write com.apple.screencapture disable-shadow -bool false && killall SystemUIServer