Over the past few years, I was determined to build the ultimate Windows 10 Gaming PC that was not only small but also very powerful as I didn't want a noisy monstrosity on my desk that was primarily used for work. After doing more research on the latest hardware available, it became clear that if I wanted top performance, I had to give up my tiny form factors. And so it is time for my annual "ultimate pc" tradition, and this time I'm going big.
The Build
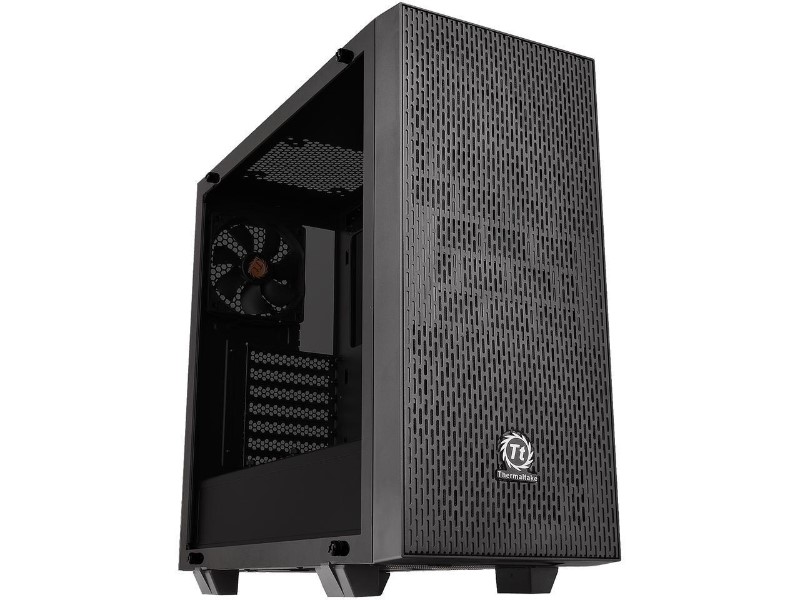
Starting with the case, I decided to go with a tower ATX case. Its surprising how the cost of cases has come down over the years, I settled on the Thermaltake Core G21 tempered glass case to be the foundation of my latest build. The case has plenty of room for a growth, PSU duct on the bottom and lots of room for fans on the front. Best of all, this case has all the buttons on the top including two USB ports.
Now on to the most important components, the Motherboard, and CPU. After a lot of research, I finally settled on the brand-new Intel Core i7-8700 “Coffee Lake” processor with 6-Cores at 3.2 Ghz (4.6 Ghz Turbo). This processor is a beast that kills the competing AMD Ryzen Threadripper in almost every benchmark and even has a lower thermal design power of 65W.
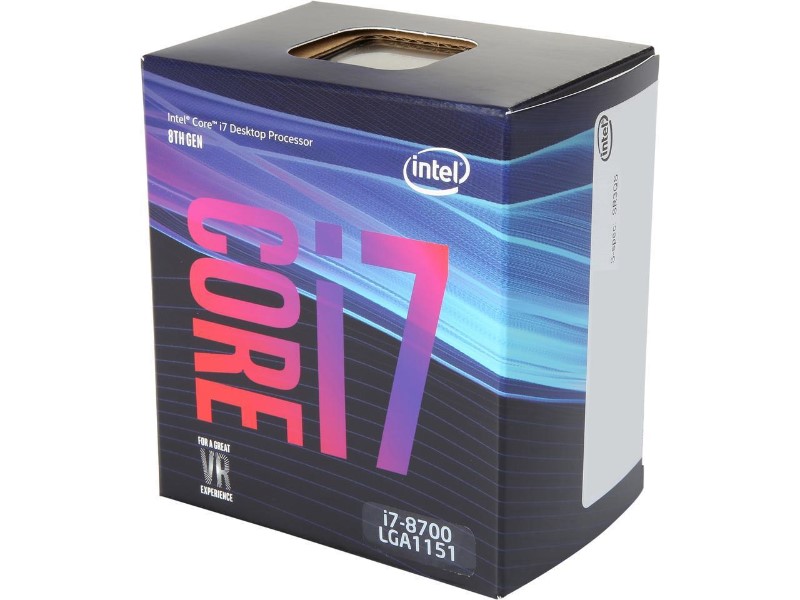
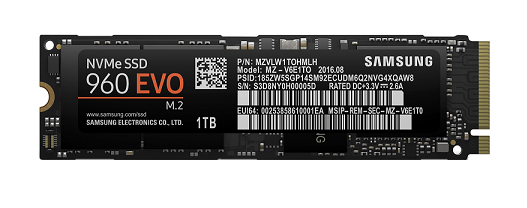
The Intel Core i7-8700 is an LGA 1151 socket processor and needs to be paired with an Intel Z300 series motherboard chipset. In addition, I have become addicted to M.2 slots in my micro PC builds as the performance of the PCI-Express slot with 4 channels make it possible to use some the fastest SSD drives on the market with ridiculous read/write speeds that are many factors above what SATA3 provides. My new motherboard must have a minimum of two M.2. slots for my 256 GB and 1 TB M.2 NVMe SSD drives.
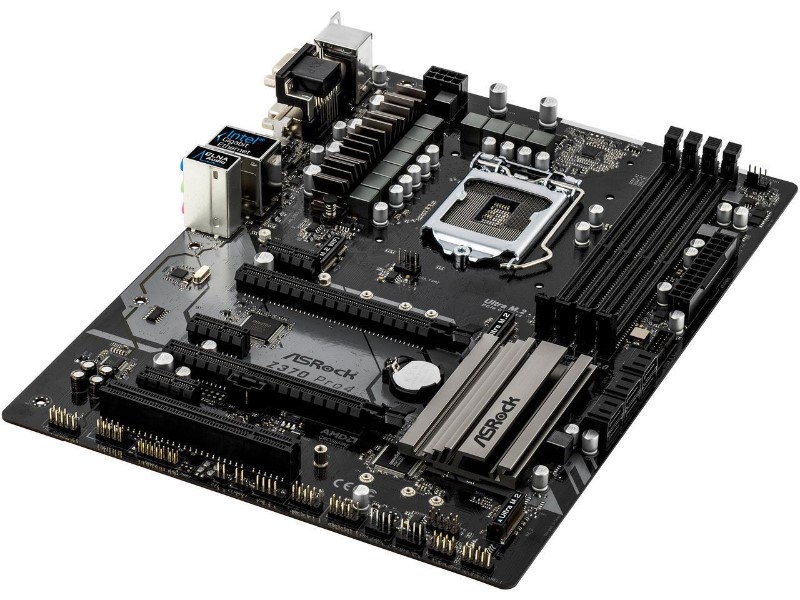
Again, after spending much time researching the various chipset and features, I settled on the ASRock Z370 Pro 4 motherboard with the Intel Z370 chipset.
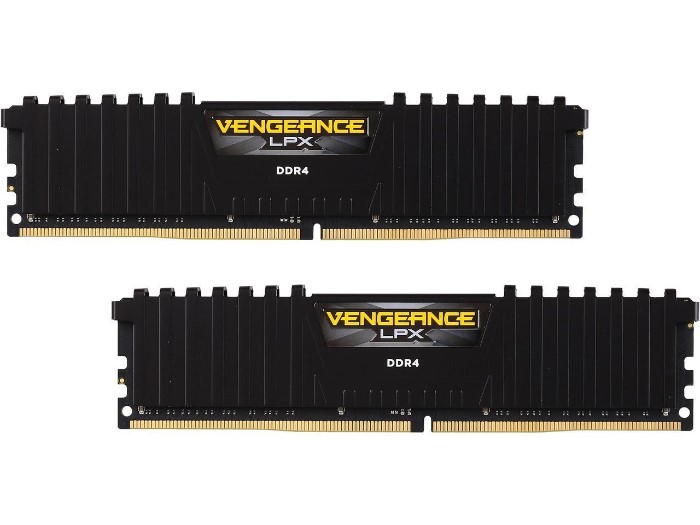
I could have gone for a board that offered cool RGB LEDs but I decided to save some money and put that into buying the most RAM I could afford. I settled on buying two 16 GB CORSAIR Vengeance LPX 288-Pin DDR SDRAM DIMMs. This way I was able to put 32 GB in the system, and still, have room for another 32 GB to grow down the road.
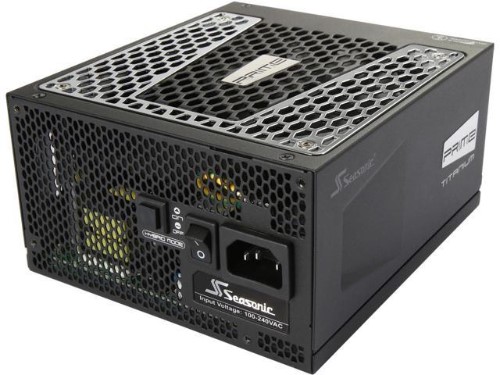
When it comes to Power I needed to get something that would power a good GPU and be efficient. I ended up buying the Seasonic Prime Ultra 640W 80+ Titanium power supply that is fully modular with quiet fan control. Even though I’m building a laptop, I didn’t want it to be noisy.
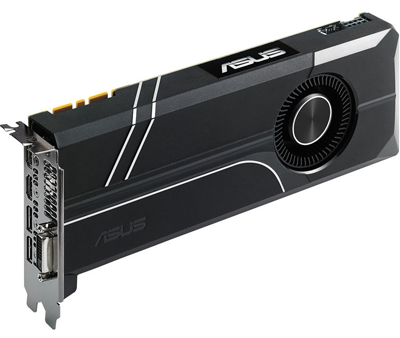
To wrap up, I pulled my two M.2 NVMe SSD’s and my Nvidia GTX 1080 made by Asus from my previous builds.
Benchmarks
Once built, the machine started up without any issues the very first time. After updating the drivers and getting Windows 10 configured I was very impressed with the responsiveness. I was especially blown away by the graphics performance. Previously, I had the Nvidia GTX 1080 in an external RAZER Core thunderbolt enclosure hooked up via Intel Thunderbolt to my Intel Skull Canyon NUC. The increase in performance was very telling on how much the external GPU enclosure market must improve to be able to fully capitalize on the strengths of a modern high-end graphics card.
The Ultimate Windows 10 Micro Gaming PC benchmarks for comparison:
- 3DMARK Sky Diver 1.0 Score: 29,322 (Shocking result with exact same Nvidia GTX 1080 ~ 34% slower in Razer Core).
- PC MARK 8 Home Conventional 3.0 Score: 3,847.
Final Build List
- Thermaltake Core G21 Dual 4mm Tempered Two-Toned Glass Power Cover ATX Black Gaming Computer Case (CA-1I4-00M1WN-00)
- Intel Core i7-8700 Coffee Lake 6-Core 3.2 Ghz (4.6 Ghz Turbo) LGA 1151 (BX80684I78700)
- ASRock Z370 Pro4 LGA 1151 Motherboard (Z370 Pro4)
- CORSAIR Vengeance LPX 32 GB (2 x 16GB) 288-Pin DDR4 SDRAM (CMK32GX4M2B3000C15)
- Seasonic PRIME Ultra 650W 80+ Titanium Power Supply (SSR-650TR)
- ASUS NVIDIA GeForce 1080 Turbo Graphics Card (TURBO-GTX1080-8G)
- 256 GB Samsung 950 Pro M.2 SSD (MZ-V5P256BW) OR 250 GB Samsung 960 EVO M.2 SSD (MZ-V6E250BW)
- 1 TB Samsung 960 EVO M.2 SSD (MZ-V6E1T0BW)
Note: No promotional or review products were provided for the purpose of this article, everything was purchased at retail. If you would like to replicate this build, help support Tweaks.com by using the affiliate links above.
