I previously wrote about building the ultimate micro PC that performed great in just about every benchmark except for graphics. At that time, graphics performance was not very important to me, my Xbox One was my primary gaming device. But as of today, that is no longer the case. I have returned to the world of PC gaming and will take you step-by-step through building the ultimate Windows 10 micro gaming PC!
To build an ultimate gaming PC you must go with a full size, double width, PCI-Express graphics card for the best performance. But trying to fit that into a “micro” PC is simply a non-starter. Looking for a solution, I became focused on the latest connection technology using Intel’s Thunderbolt 3 standard. Thunderbolt version 3 supports a ridiculous 40 Gbps of bandwidth. This high-performance connection makes it possible to connect an external high-performance graphics card. So, to make my ultimate Windows 10 micro gaming PC a reality, I will need a micro PC that supports Thunderbolt 3 external graphics and an external graphics card enclosure. I will also need a great graphics card to put in the enclosure.
Shopping List
- Powerful micro pc that has Intel Thunderbolt 3 and supports external graphics (eGPU or eGFX)
- Thunderbolt 3 External graphics enclosure
- Awesome PCI-Express graphics card
Selecting and building the Micro PC
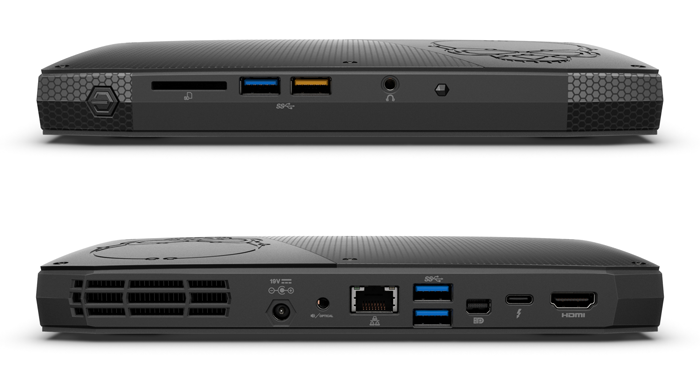
There are not very many “micro” PCs on the market that support Thunderbolt 3 and external graphics. In fact, I’m aware of only one device that meets this requirement and also have top of the line performance. It happens to be made by Intel, the inventors of Thunderbolt 3, and is known as the Skull Canyon NUC. Packed with a quad core i7 processor (2.6 Ghz, 3.4 Ghz turbo), support for 32GB of RAM, two M.2 PCI-Express slots, not to mention Thunderbolt 3 and a plethora of networking capabilities (WiFi, Bluetooth, IR, wired), the Skull Canon NUC is the ultimate micro PC.
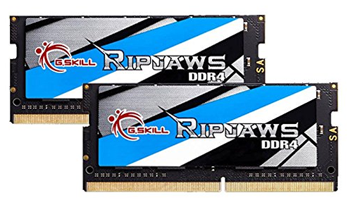
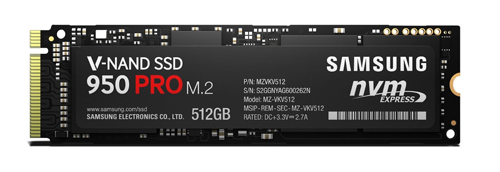
With this setup, I decided to re-use the 32GB of G.SKILL DDR4 2133 RAM and Samsung 950 Pro M.2 NVM Express SSD for my OS disk from my Ultimate Windows 10 Micro PC build.
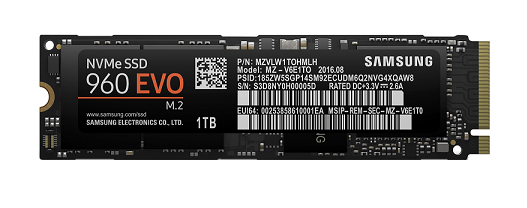
For my data disk, I purchased the speedy 1 TB Samsung 960 EVO M.2 NVM Express SSD for the secondary M.2 slot in the Skull Canyon NUC.
Selecting the external graphics enclosure
As Thunderbolt 3 is a relatively new standard, there are not very many external graphics enclosures on the market right now. If you want to stay below $500, there are really only two options.
Option 1: Razer Core External Graphics Dock
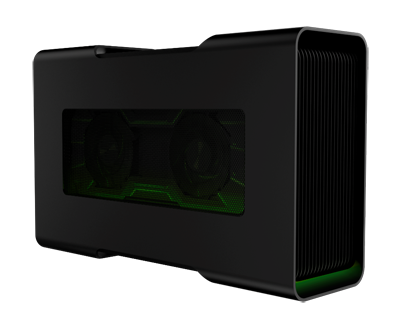
- Cost: $499 brand new, $429 refurbished
- 500-watt internal power supply (375 watts for GPU)
- 4.3” wide, 8.6” height, 13.4” length
- Additional Ports: Four USB 3.0, and gigabit ethernet
- Cool LEDs
- Good ventilation
- Solid build quality
Option 2: AKiTiO Node
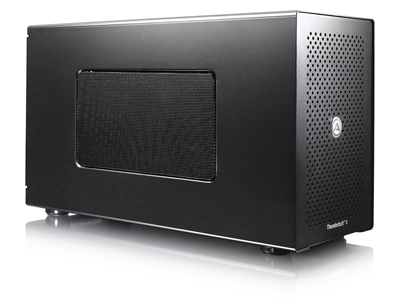
- Cost: $299
- 400-watt internal power supply (~390 watts for GPU)
- 5.7” wide, 8.9” height, 16.8” length
- No additional ports
- One blue LED
- Good ventilation
- Includes Thunderbolt 3 USB-C cable
After reviewing both options carefully I settled on the AKiTiO Node because it was $200 cheaper. The Razer Core’s additional ports are nice, specifically if you have a laptop and use it as a dock, but the Skull Canyon NUC has plenty of ports for me. The only downside to the AKiTiO Node is the size, as it is a little larger than I would like for a “micro” build. Then again, I’m saving $200 so I will live with the extra 1.4” of width, .3” of height, and 3.4” of length.
Shopping Tip: Check out Craigslist or Ebay for a used Razer Core. I was able to find one well below the list price.
Selecting the graphics card
This is by far the easiest part of this build, simply buy the best graphics card you can afford. One of the best cards you can buy is the nVidia GeForce GTX 1080. And with the recent release of the 1080 TI variant, the price of the normal 1080 has gone down significally from the original $699 MSRP. I was able to snag an Asus GeForce GTX 1080 Turbo with blower fan for $469 after rebate.
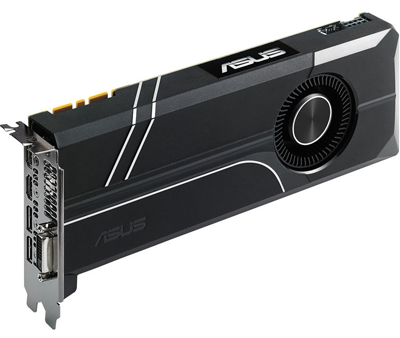
To a large degree picking a graphics card is all about the brand and configuration you prefer. Do you want to overclock it? Make sure to get a card with an upgraded cooler. But just about any PCIe graphics card made by AMD or NVIDIA (single or double width) will work. You can check the AKiTiO node’s compatibility chart here, but it is very bare right now as it is a new product. The card I selected was not on this chart, but worked perfectly fine.
Final Part List
Now for the final part list:
- Intel Skull Canyon NUC (NUC6i7KYK)
- 32 GB 2 x G.SKILL Ripjaws Series 240 Pin DDR4 SO-DIMM DDR4 2133 (F4-2133C15D-32GRS)
- 256 GB Samsung 950 Pro M.2 SSD (MZ-V5P256BW) OR 250 GB Samsung 960 EVO M.2 SSD (MZ-V6E250BW)
- 1 TB Samsung 960 EVO M.2 SSD (MZ-V6E1T0BW)
- AKiTiO Node (NODE-T3IA-AKTU)
- ASUS NVIDIA GeForce 1080 Turbo Graphics Card (TURBO-GTX1080-8G)
Estimated Total Cost: $2,300 USD
Putting it all together
There was nothing special putting the Intel Skull Canyon NUC together, although install Windows 10 using the integrated graphics adapter and port. Once Windows 10 is loaded, follow these tips:
Upgrade the BIOS on the Intel Skull canyon NUC to the latest version. Click here to find the latest BIOS and then install it which will require a reboot.
Next, download and install the latest Thunderbolt driver from Intel. Windows 10 did not automatically download and install this driver from Windows Update. Click here to download the driver.
Shut down the Intel NUC. Remove the two screws on the back of the AKiTiO Node and slide it out of the cover. Install your graphics card into the Node, make sure to plug in the secondary power on the top of the card. Note that the node comes with two power cables, two 8-pin plugs that come apart if you just need a 6-pin plug. Finally put the Node back together.
With your monitor still plugged into the Intel NUC directly, connect the AKiTiO Node to the Intel NUC using the supplied USB-C cable. Now, turn on the Node via the switch on the back and then the NUC. The first time Windows boots up it should detect the new Thunderbolt device and ask you to approve it.
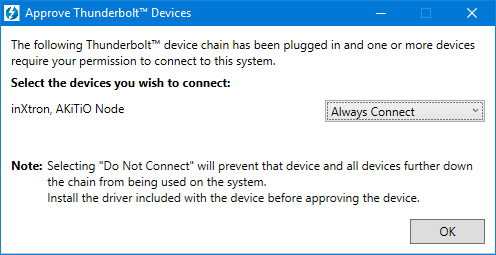
I selected Always Connect and hit OK. At this point give your PC a few minutes for the new graphics adapter to be detected and for the drivers to download from Windows Update. These are typically not the newest drivers, so I recommend downloading new drivers directly from AMD or NVIDIA later. You can monitor the installation of your new device by checking Device Manager (right click the Start Button and select Device manager to launch). Once you see the new card listed under Display Adapters, you are ready to shutdown your pc.
Once your PC is shutdown, move your monitor connection from the back of the Intel NUC to your new graphics card and you are all set. Turn on the power of the NUC again, and you should be all set. Don’t be alarmed if you don’t see the POST on the external graphics card, some devices just down support that for now.
Good luck, and I hope you enjoyed another Ultimate Windows 10 Micro PC build. 1
Bonus Benchmarks
Intel Skull Canyon baseline with integrated graphics card (Intel Iris Pro Graphics 580).
Intel Skull Canyon with external graphics card (ASUS NVIDIA GeForce GTX 1080):
