In the latest version of iOS Apple included a new feature called AirPrint. Designed to bring native printing support to the iOS platform it can be found on version 4.2 or later on devices such as the iPhone, iPod, and iPad. At launch only a handful of HP wireless printers could be used but with the help of this article it is possible to AirPrint to any printer connected to a Windows computer, including Windows servers, and now Macs too! This is incredibly useful if you have an older printer and need to quickly print from your iPhone. Don't throw away that old printer, just modernize it with the help of this article!
Method 1 (Windows Only)
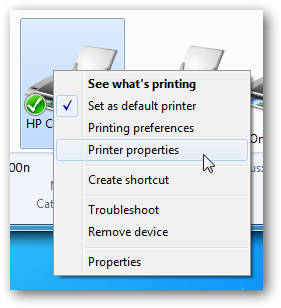
First, enable network printer sharing for the printer attached to your computer. In Windows 7, click on the Start button and select Devices and Printers. Locate your printer, right-click on the icon, and select Printer properties.
On Windows 10, it is a little more complicated. Click on the Start button, type in printers & scanners, and hit Enter. The Printers & scanners Settings page should load. In the middle of the screen, click on your installed printer in the list and then the Manage button will appear. Finally, click on Printer properties on the left menu.
On Windows 11, it is similar to Windows 10. Click on the Start button, type in printers & scanners, and hit Enter. The Printers & scanners Settings page should load. Near the top of the screen, click on your installed printer in the list. Finally, click on Printer properties towards the bottom of the screen.
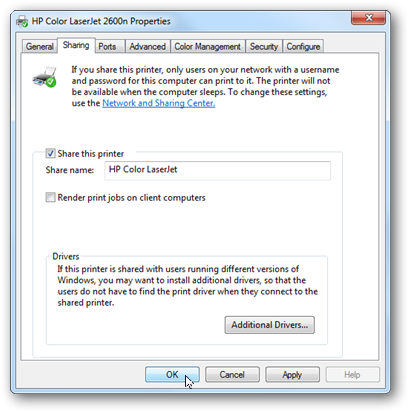
Once you have Printer properties opened, click on the Sharing tab, check the Share this printer box, and then click OK. You may need to click the Change Sharing Options button first to be able to check the Share this printer box.
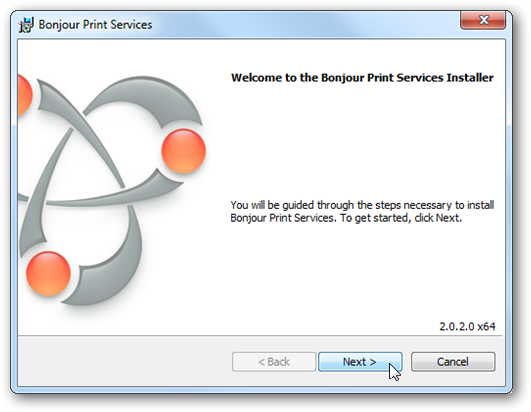
If this machine does not have iTunes installed you will need to install the Bonjour Print Service. You can download the file from Apple directly.
After Bonjour is installed, make sure UDP port 5353 is open if you have a local firewall.
Now it is time to install the AirPrint components. There are a few third-party installers available, but I recommend downloading the Elpamsoft AirPrint Installer. Elpamsoft AirPrint Installer Download Mirror.
After the file has been downloaded and extracted, run AirPrint Installer.exe with administrative rights (right-click on the file and select Run as administrator). Click the Install AirPrint Service button.
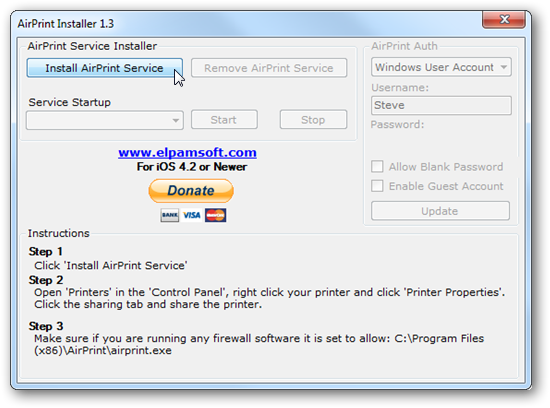
Finally, make sure the Service Startup selection is set to Auto and click the Start button.
The setup is now complete. Test AirPrint by using Safari and the Bookmark button or in Mail with the Reply button. You will find a Print option in the pop-up menu. Select your Printer and touch Print. You may be asked to authenticate and use your Windows account on the host computer.
Method 2 (alternative simplified process for Windows and Mac)
Since I wrote this original article, a new utility called Flyingbee Air Printer has been released that provides a turnkey AirPrint solution. Just download, install, and the software will guide you through the setup.
The Flyingbee Air Printer software is fully supported and receives updates (unlike the Elpamsoft tool that has been abandoned by the developer) but it is not 100% free. You can print most documents in black and white for free in "trial mode," but if you want to print in color, double-sided printing (if your printer supports it), and additional features, you must buy a license for $40 USD.
If you are happy with the restrictions, good with buying a license for $40, or find the complexity of the DIY Elpamsoft approach too much, follow the steps below to setup the Flyingbee Air Printer software:
- Download either the Windows or the Mac version of the Air Printer software.
- Install the software by double-clicking on your download on Windows. For Mac, double-click the downloaded DMG disk image file and then drag
Air Printer Register.appto the Applications folder. Alternatively on Mac, you can try the Apple App Store version of Air Printer.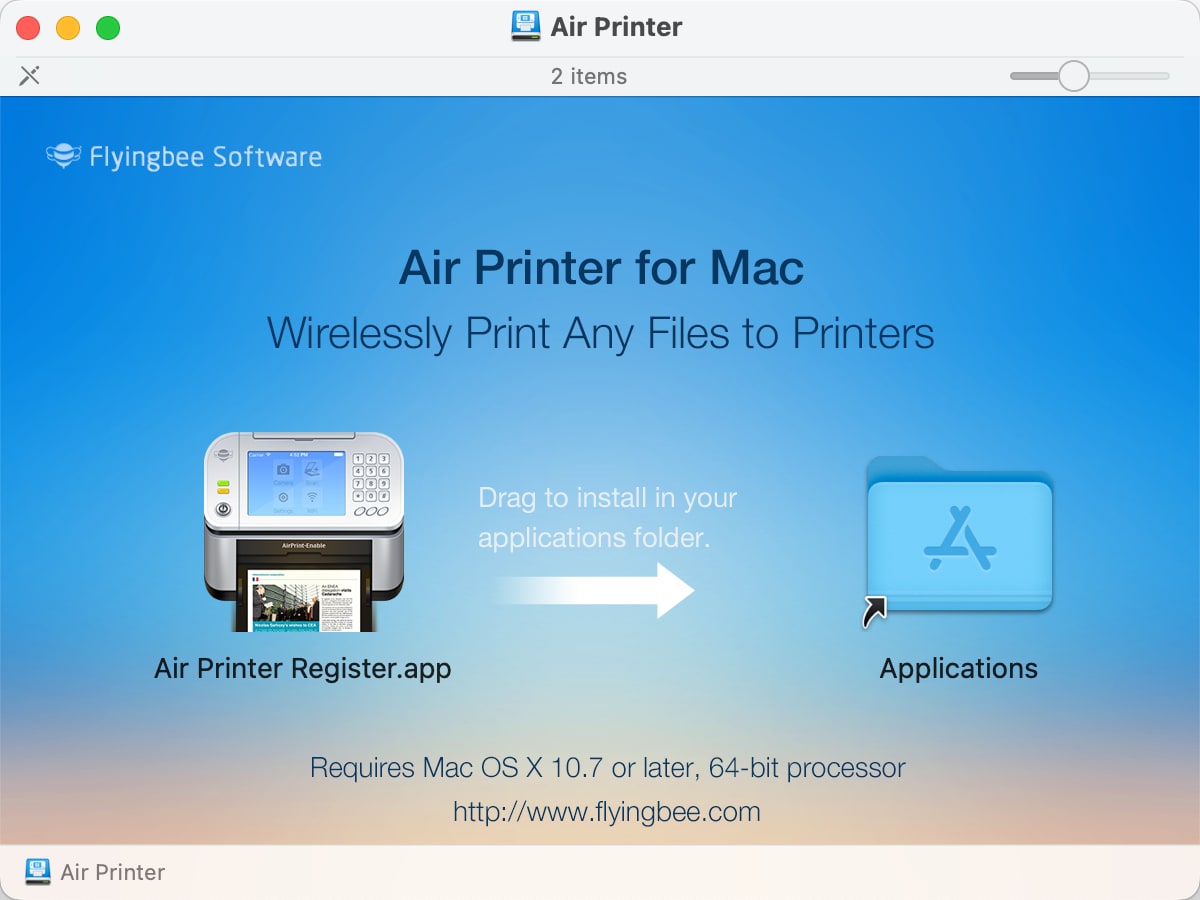
- On Windows, you may be prompted to Install Bonjour upon first launch. Click the
Install Bonjourbutton to take care of this requirement and click through the install screens and then reboot your computer after the Bonjour install is completed.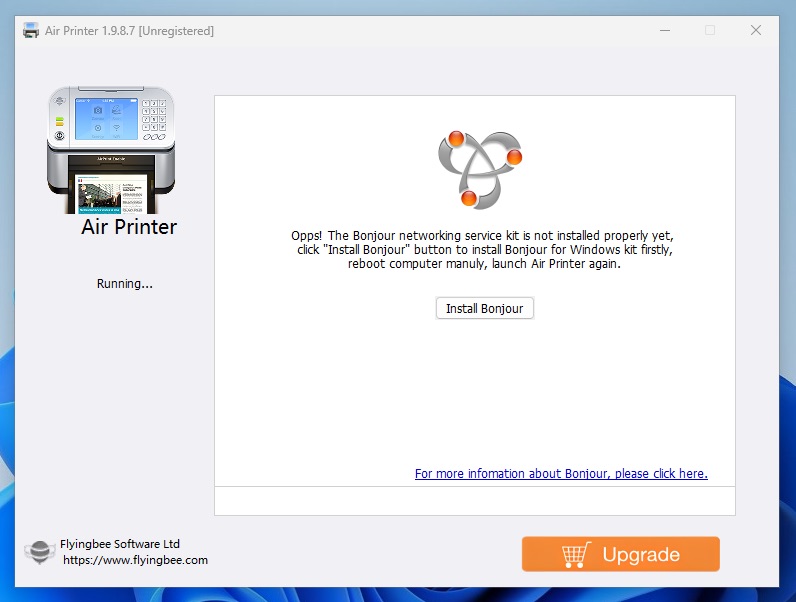
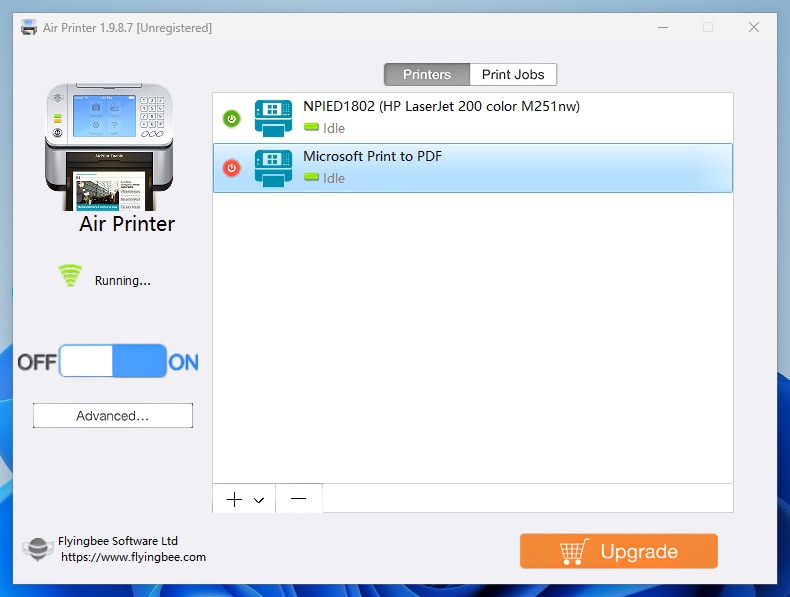
- After rebooting (only required for Windows) launch Air Printer from the desktop shortcut or Applications list in Finder on macOS. Allow the network traffic if your firewall requests approval. At this point, your printers should automatically be setup and ready to go.
- Optional: If you don't want all your printers exposed via AirPrint, simply hit the green power button to the left of the printer listing to disable the printer. For example, I disabled the Microsoft Print to PDF virtual printer.
Method 3 (Mac Only)
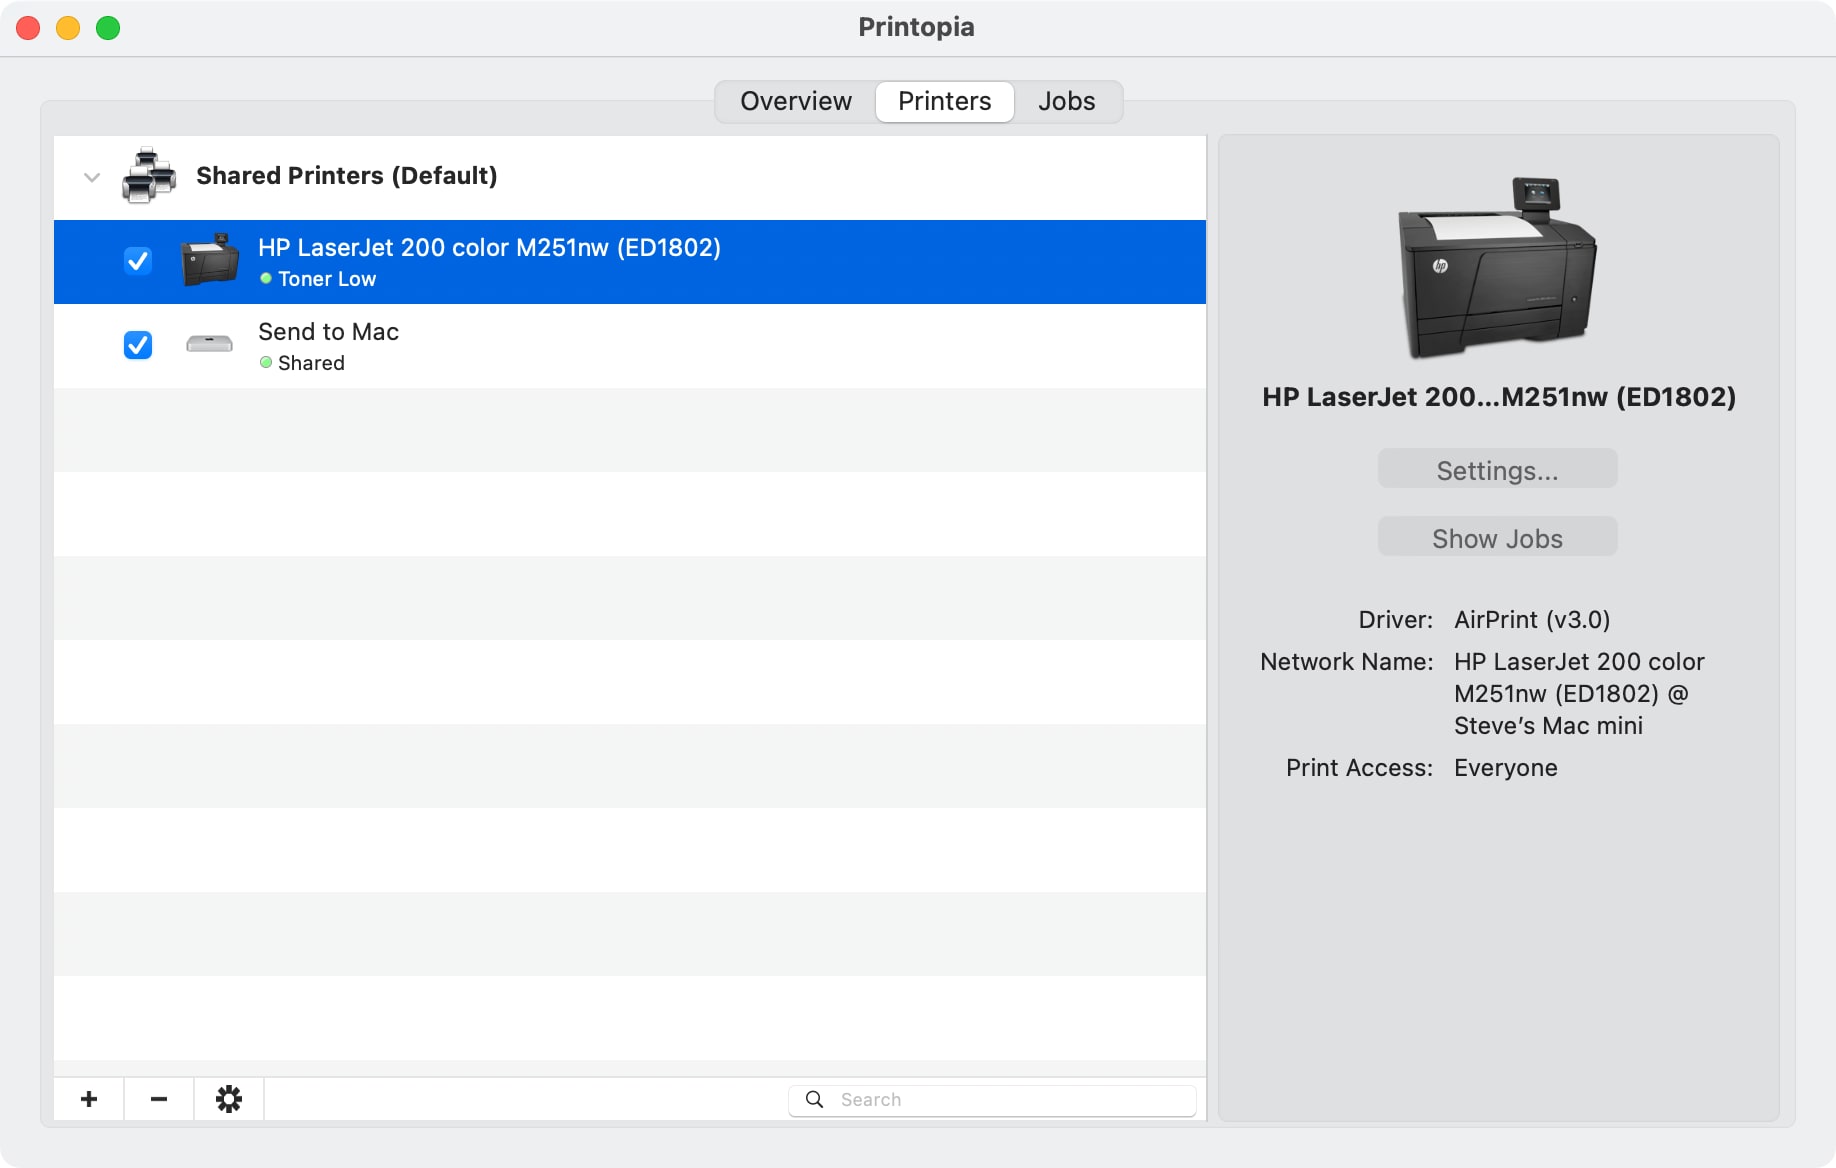
If you are on macOS, you have another option available to you called Printopia. This software costs $20 USD but offers a free 7-day demo. If you really need color printing and are looking for a solution that costs 50% less than Flyingbee Air Printer you may want to consider Printopia.
- Head over to the download page and click the
Try Freebutton to download the latest release. - Double-click on the zip file to extract it, and then drag the
Printopia.appfile to your Applications folder in Finder. - On the Welcome screen, select
Start your 7-day free trial. - Everything is ready to go at this point, but you can disable certain printers from being exposed over AirPrint by removing the corresponding check.