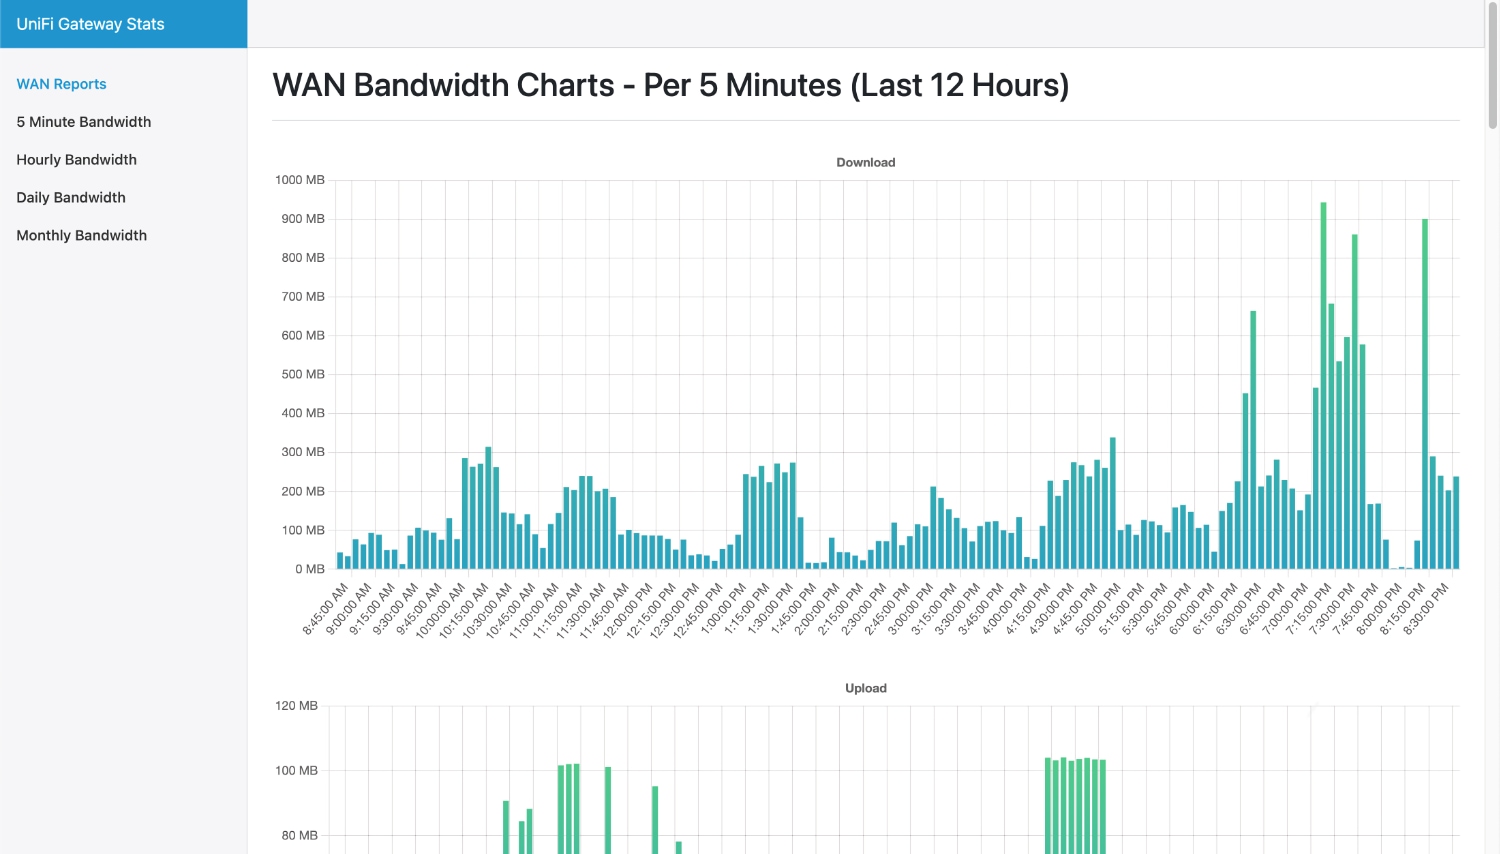
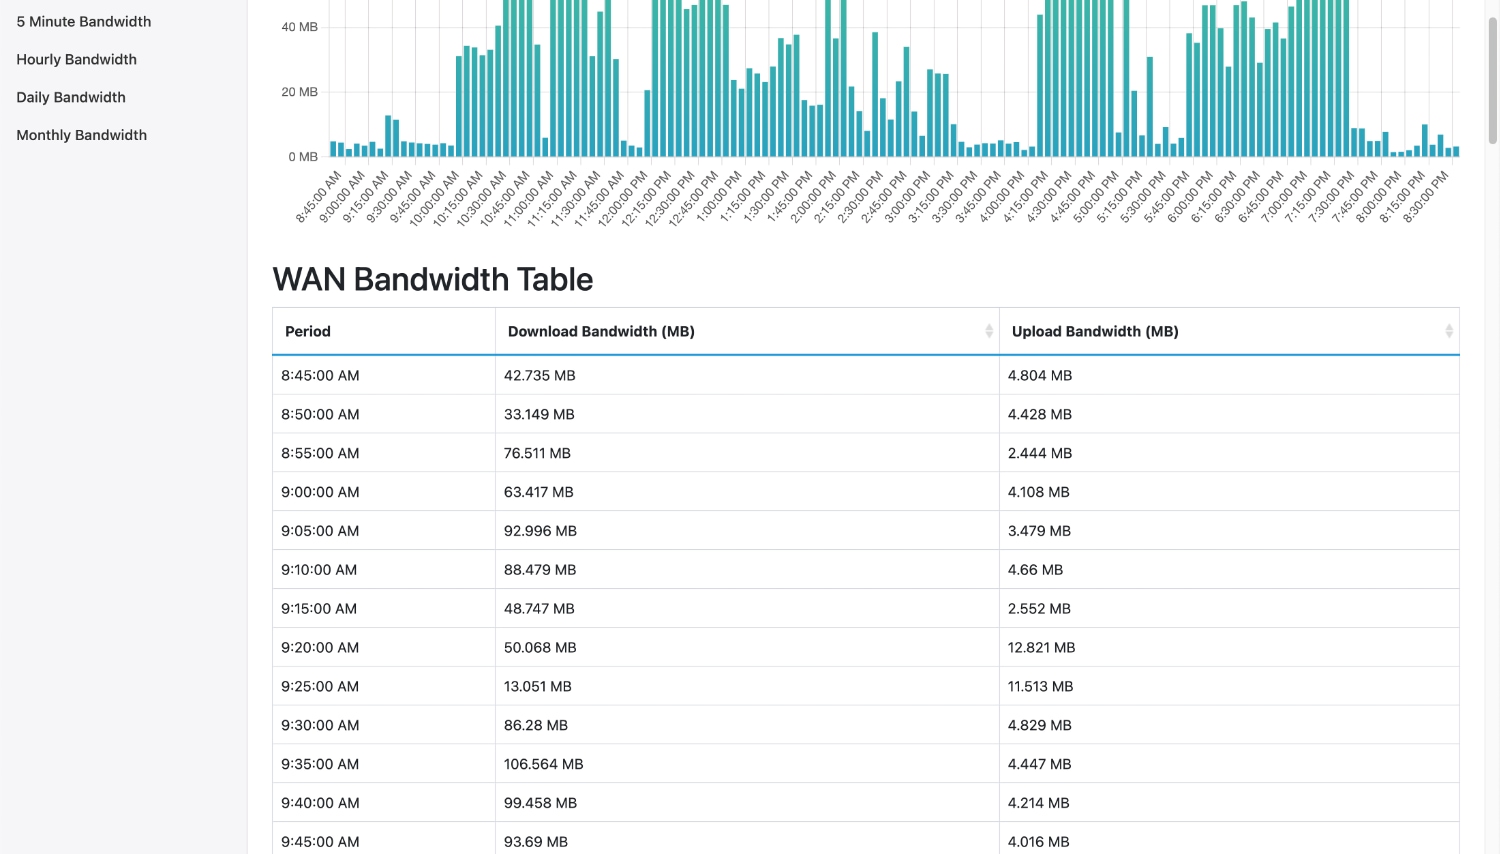
More and more Internet providers are implementing bandwidth caps on home internet services which requires awareness of how much data is downloaded (and uploaded) in your household every month to avoid extra overage fees. If you have invested in the Ubiquiti UniFi network ecosystem, you have a powerful network controller that tracks a lot of useful information but much of it is not surfaced in the provided web consoles. To solve for this, I wrote UGatewayStats which is a simple graphical interface to display UniFi Gateway WAN bandwidth statistics pulled from the UniFi Controller with direct API calls.
Written in PHP and JavaScript, this tool is powered by Bootstrap, Bootstrap-Table, Chart.js, jQuery, Composer, and most importantly, the UniFi API Client.
Features
The following reports are provided for tracking WAN upload and download data usage in both chart and table form:
- 5 Minute Bandwidth: 12 hours of data organized in 5 minute intervals.
- Hourly Bandwidth: 7 days of data organized per hour.
- Daily Bandwidth: 12 months, or max data available, organized per day.
- Monthly Bandwidth: 12 months, or max data available, organized per month.
Requirements
- Web server that support PHP 5.5.0 or newer, and the PHP-JSON and PHP-CURL modules installed.
- UniFi Controller version 5.5 or newer.
- Network access to port 8443 or 443 on the UniFi Controller host from the web server hosting UGatewayStats.
- Local account on the UniFi Controller (no cloud UI accounts).
Screenshots


Installation
The best method to install is via git clone. While at a prompt on your server in the root web folder (such as /var/www/html), run the following command:
sudo git clone https://github.com/stevesinchak/UGatewayStats.git
Then following the configuration section below to customize for your UniFi Controller info.
Configuration
All configuration is limited to the config.php file found in the root of the installation.
<?php
// Full url to your UniFi Controller
// Example: 'https://192.168.1.100:443'  <-- No trailing slash!
$controller_url='<insert your controller URL>';

// Only use a local account here created on your controller
$controller_user='<insert local controller account username>';
$controller_password='<insert local controller account password>';

// typically you don't need to change these unless you have multiple sites
$site_id='default';
$controller_version='6.5.55'; // Requires UniFi Controller version 5.5 or newer
$debug=FALSE;
?>
Updates
Similar to installation, you can run a git command from UGatewayStats sub-folder to pull down any updates:
sudo git pull
Raspberry Pi Full Setup and Headless (no monitor) Installation
- Download Raspberry Pi OS Lite (Rasbian which is based on Debian) from raspberrypi.com.
- Write the downloaded image to a SDCard (balenaEtcher is a good choice).
- Mount the boot partition of the SDCard on your PC/Mac by removing and re-inserting the USB reader. Create a file simply called
SSHwhich will enable SSH remote management upon first boot. - If using WiFi on a headless setup, create a
wpa_supplicant.conffile as described in the official docs. - SSH into the Pi with
SSH pi@<IP address>and use the defaultraspberrypassword. You may need to find the device in the UniFi Controller client list to obtain its IP. - Apply all updates to the system and pre-installed packages with:
sudo apt-get update && sudo apt-get upgrade -y - Time to install Apache, git, PHP and the necessary PHP plugins with:
sudo apt-get install apache2 git php php-curl php-json -y - Navigate to
/var/www/htmlwithcd /var/www/html - Run the following to install UGatewayStats:
sudo git clone https://github.com/stevesinchak/UGatewayStats.git - Open up browser of your choice, navigate to
HTTP://<Pi IP Address>/UGatewayStats/to view the stats!
Contribute
If you have ideas for improvements, requests, issues, or would like to contribute code, please open a issue or create a pull request in our github repo at https://github.com/stevesinchak/UGatewayStats.