The System Restore feature has matured over the years into a very valuable tool for any enthusiast who tweaks their computer. Every time you make a change, there is a risk that something could go wrong. Wouldn’t it be nice if you could easily undo any change with just a few clicks? System Restore provides the solution to that problem by enabling you to jump back in time to an earlier state.
Creating Restore Points
You can create Restore Points in Windows in a number of ways. Every time you install new software, Windows automatically creates a new Restore Point. You can also manually create Restore Points in Windows.
Click on the Start Button, type Create a Restore Point, switch to the Settings filter on Windows 8.0, and then hit Enter.
The System Properties System Protection tab will be shown. Click the Create button near the bottom of the window to manually create a restore point.

On the next screen, type in a name for your Restore Point and click Create.

After you click the Create button, the Restore Point immediately begins taking a snapshot of your system.
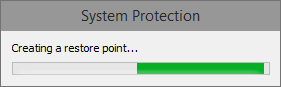
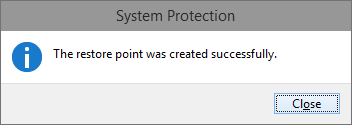
A progress screen displays and notifies you when the snapshot is complete. In my experience, it takes only a few minutes to create a Restore Point.
Reverting to a Previous State
Before proceeding, it is important to understand that System Restore doesn’t delete any of your personal documents such as photos, music, and Microsoft Word documents when you revert to a previous state. However, all system changes made between points, such as installing new drivers and new software, are wiped out. Now that you know what to watch out for, follow these steps to restore your computer to a previous Restore Point:
Click on the Start Button, type in rstrui.exe, and hit Enter.
After the System Restore utility has loaded, you can select the recommended restore point that will undo the most recent change or select from a list. Select Chose a different restore point and hit Next.

You will now see a list with the date, time, and a description of each Restore Point.

Find the Restore Point that you want to revert to, select it, and click Next.
Check the confirmation page, and then click Finish.
Click Yes on the final confirmation screen.
Your computer will now log you off and start the System Restore process. When it finishes, your computer will restart.
One of the best parts of System Restore is that you can always undo the recent restore if restoring your computer did not solve your problem or created new problems. You can undo the recent restore by starting up System Restore again. After you complete any restore, the Undo option is displayed on the opening screen of the System Restore utility.